

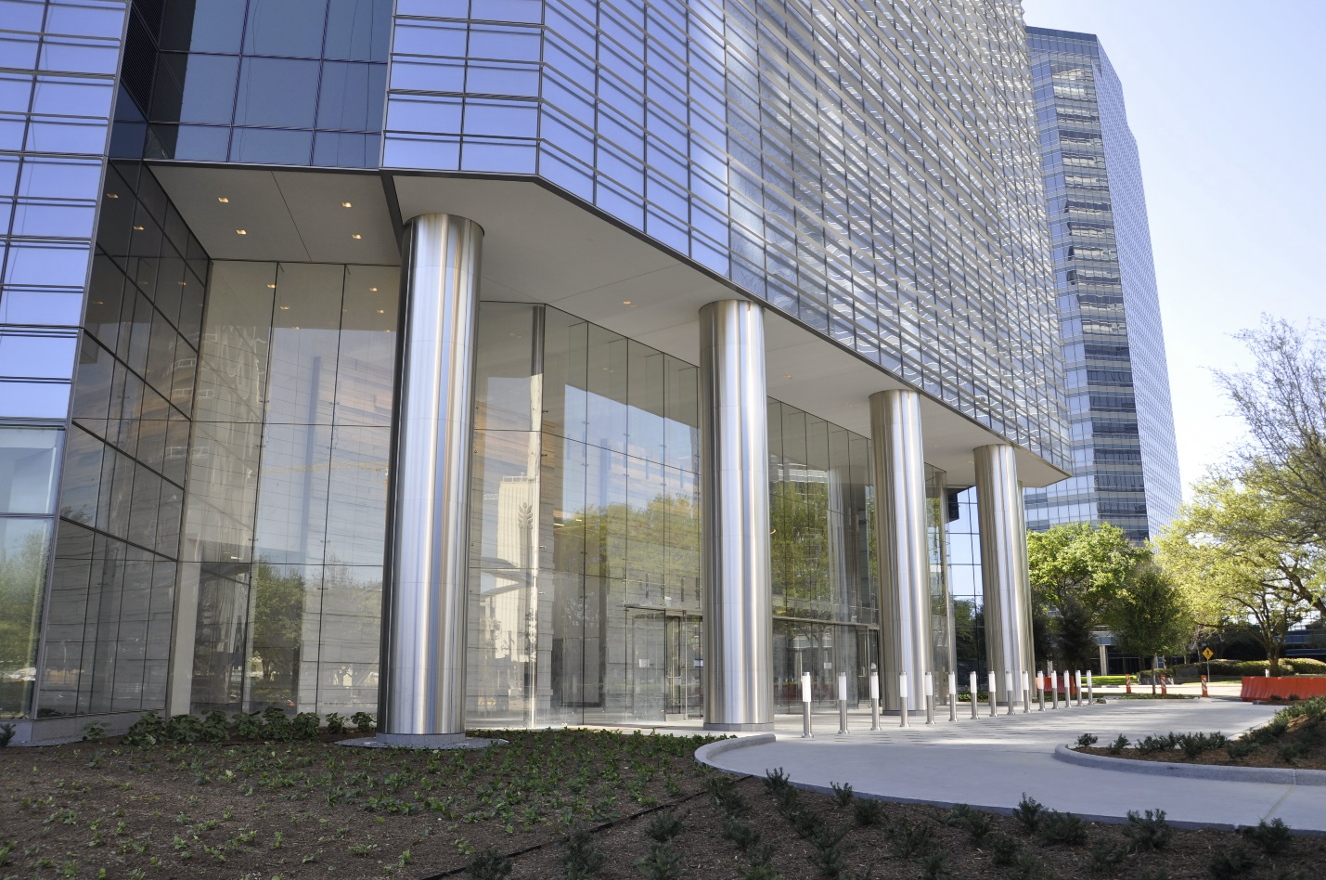
11 Sep Column Covers: Design, Fabrication, and Installation Considerations for General Contractors
Column covers are one of those scope items that looks deceptively simple on a set of drawings. A few metal panels wrapping a structural column: How complicated can it be? The answer, as a lot of general contractors have discovered mid-project, is more complicated than it looks.
That is no reason to dread the scope, but it is a reason to think it through the design carefully before the work starts. Column covers done well are clean, durable, and contribute meaningfully to the finished appearance of a lobby, parking structure, retail space, or corridor. Column covers done poorly are expensive to fix and hard to hide. Here is a practical overview of the considerations that make the difference.
Start With the Structural Column — Not the Drawing
The first thing to understand about column covers is that they are installed over real structural columns, which are rarely exactly what the drawings say they are. Columns that are nominally the same size can vary in actual dimension due to concrete pour tolerances, form deflection, and finishing variation. A structural column that is drawn at 18 inches square may measure anywhere from 17¾ to 18¼ inches in the field, and if the column cover is fabricated to the nominal dimension without accounting for that variation, it may not fit cleanly.
The practical implication is that field measurement should drive the fabrication order, not the architectural drawings. For a project with multiple column covers in the same space, it is well worth taking the time to measure each column individually rather than assuming that they are all identical. Finding out that columns three and seven are slightly larger than the rest is useful information before the order goes to the fabricator. Finding it out during installation is a different kind of day.
This measurement conversation should happen before shop drawings are submitted, not during the review process. The fabricator needs accurate field dimensions to produce accurate shop drawings, and inaccurate input produces inaccurate output regardless of how carefully the shop drawings are reviewed.
The Attachment System Is the Critical Detail
How a column cover attaches to the structural column determines almost everything about how the installation goes and how the cover performs over time. There are two primary approaches: a clip system and a direct-attach system. Each has tradeoffs.
Clip systems use a metal track or series of clips attached to the structural column, with the cover panels engaging the clips rather than being directly fastened to the column. This approach accommodates variation in the column dimension, allows for thermal movement, and typically produces a cleaner finished appearance because there are no visible fasteners on the panel face. It also makes panel removal possible for access to mechanical or electrical elements behind the cover if that’s a project requirement.
Direct-attach systems fasten the cover panels directly to the structural column, typically with concealed fasteners at panel joints. This approach is simpler and often less expensive but is less forgiving of column variation and provides less accommodation for thermal movement. For interior applications with controlled temperature environments, this is often an acceptable tradeoff. For exterior column covers or applications with significant temperature swings, the clip and track approach is usually the better engineering choice.
The attachment system needs to be resolved during the shop drawing phase, not improvised in the field. A fabricator who designs the cover and the attachment system together produces a system that installs predictably. One who fabricates panels without a clear attachment strategy produces a field problem.
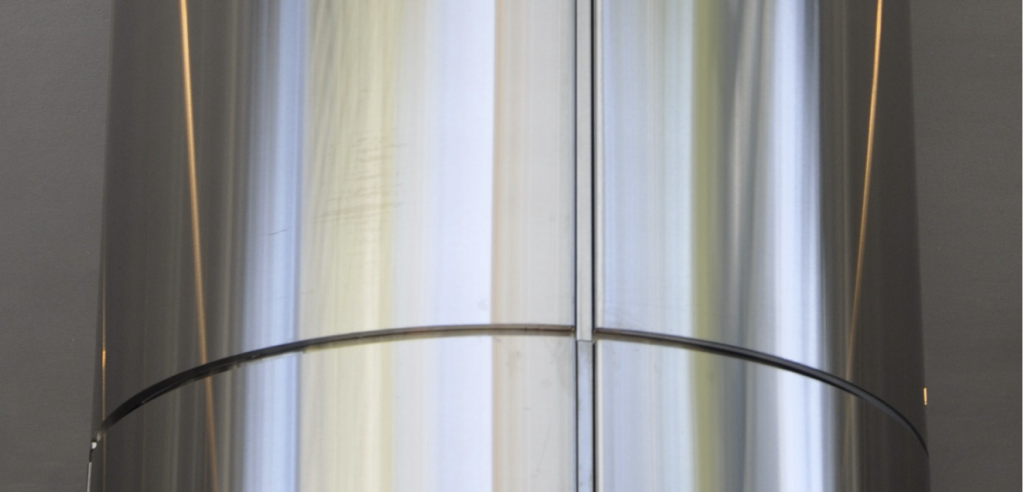
Panel Joints and Seams: Where the Design Lives
The visual quality of a finished column cover lives primarily in the joints. One should carefully consider how the panels meet each other, how the top and bottom bases integrate with the surroundings, and how both vertical and horizontal seams will be handled. These are details that can be addressed easily during design, but that are very difficult to change after fabrication.
Corner conditions. For square column covers, consider where you will seam them. Will you have butt seams or knuckle joints that will be visible on faces, or will you have miters in the corners? The design intent and the budget should drive this decision, but it needs to be made explicit in the specification rather than left to the fabricator’s interpretation.
Vertical seams. For tall column covers that require multiple panels stacked vertically, the horizontal seam between panels is a visible element that needs to be detailed. Reveals can turn a functional seam into a design feature. Butt joints with sealant are functional but less refined. The height of each panel section and the location of horizontal seams should be coordinated with adjacent conditions so that the seam pattern makes visual sense in the space.
Base and top conditions. How the column cover terminates at the floor and at the ceiling or soffit is a detail that is easy to overlook in design and hard to fix in the field. A base condition that does not account for floor finish thickness will leave a visible gap. A top condition that does not account for ceiling grid tolerance will be visibly inconsistent from column to column. These dimensions need to be verified against actual field conditions before the order is finalized.
Finish Coordination With Adjacent Materials
Column covers in finished interior spaces may need to coordinate visually with adjacent walls, floors, or ceiling systems. This sounds obvious, but it does require intentional effort in the specification.
The finish on the column cover panels (whether painted, anodized, brushed stainless, or another material) needs to be specified precisely enough that the fabricated pieces match the design intent. For example, “polished stainless steel” may refer to a #4 (brushed) finish or a #8 (mirror polished) finish, depending on the background of the architect making the specification, and the fabricator should ask a simple clarifying question to make sure all parties are on the same page.
For projects where column covers need to match other custom metal elements in the space, having the same metal fabricator produce all of the metal elements will yield the most consistent results. If that is not practical, the column cover fabricator should be given a physical sample of the adjacent metal for matching.
Exterior Column Covers: Additional Considerations
Exterior column covers, often seen in building entries, covered walkways, and parking structures, face conditions that interior covers do not: direct weathering, significant thermal movement, potential water infiltration at joints, and in some climates, freeze-thaw cycling.
For exterior applications in North Texas, the finish specification needs to be elevated accordingly. For example, PVDF coating is more durable than standard paint, and Class I anodized aluminum is more durable than Class II anodized aluminum. Additionally, sealant joints should be designed for the expected thermal movement rather than sizing them as just cosmetic joints. These items are not just premium upgrades for exterior applications: they are baseline requirements for a column cover system that will perform over its intended service life.
Drainage is also a consideration for exterior column bases. Water that infiltrates the cover at the top needs somewhere to go. A base detail that traps water creates a corrosion condition over time. The base flashing and weep details are worth thinking through during design even if they are unglamorous to detail.
Pulling It Together
Column covers reward early planning and careful coordination between the design team, the general contractor, and the fabricator. Smooth-running projects are almost always the ones where field dimensions were taken before shop drawings were produced, the attachment system was resolved before fabrication started, and the finish and joint details were specified clearly enough that there was no ambiguity about what “done” looks like.
Astro Sheet Metal fabricates and installs custom column covers for general contractors and building owners throughout the Dallas-Fort Worth and Austin markets — both as standalone scopes and as part of larger architectural metals packages. If you have a project with a column cover scope and want to talk through the details, we’re glad to help. Reach out to us at 972-438-1110 or at astrosheetmetal.com/contact.
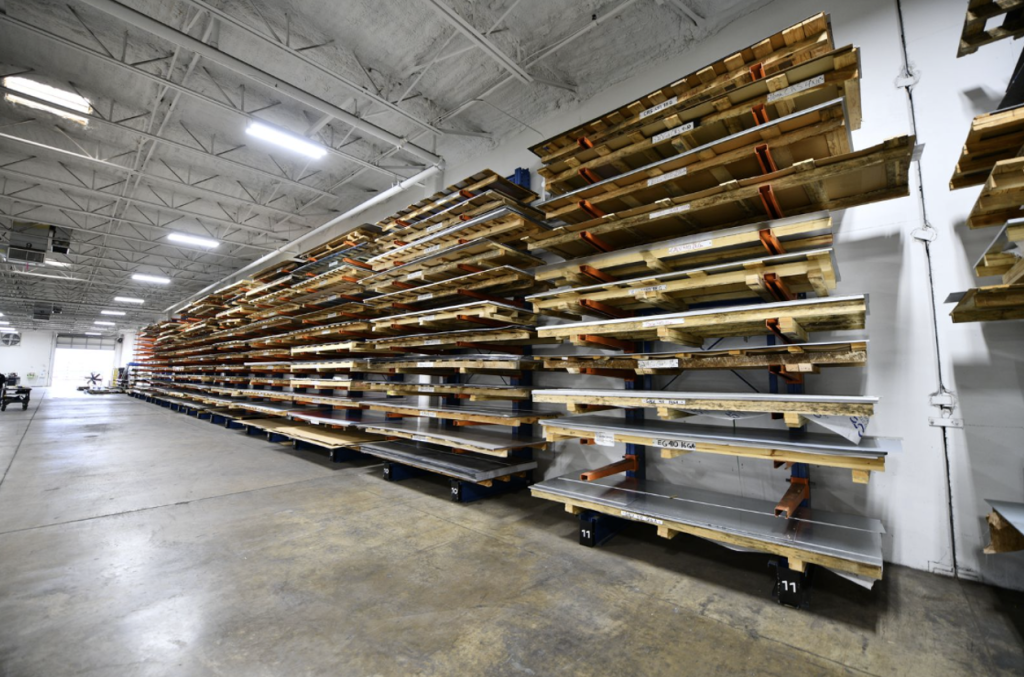
Material Procurement Runs Alongside Drawing Review
Once Astro understands the scope, the required material must be confirmed.
Architectural metalwork may use aluminum, stainless steel, galvanized steel, painted sheet, powder-coated components or other specified materials. The correct alloy, thickness, temper and finish can affect how the metal forms, welds and performs after installation.
Common materials may already be available in the shop, as Astro keeps a large inventory and variety of materials on hand. However, specialty sheets, unusual gauges, and custom finishes may need to be ordered.
For larger projects, procurement often begins while drawings are being reviewed. This parallel process can reduce the overall schedule, provided the material requirements are sufficiently clear and the project team understands the risk of ordering before final approval.
Fabrication cannot begin until the shop has both usable drawings and the correct material. Specialty architectural sheets can carry substantially longer lead times than ordinary stock, which is why material availability should be discussed early.
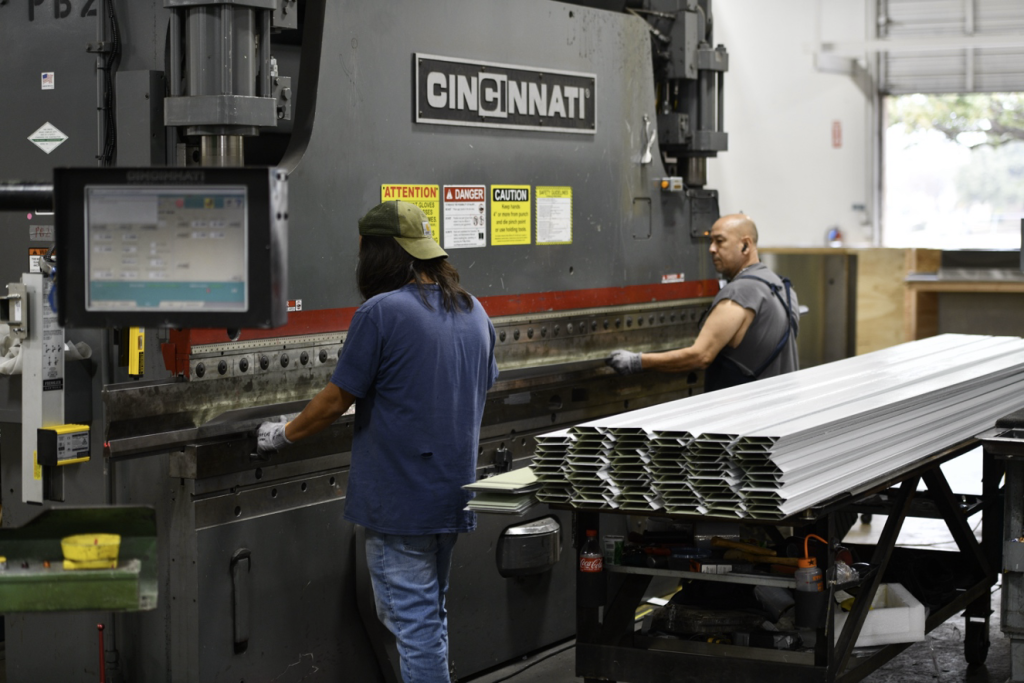
Shearing Creates the Individual Blanks
Much of Astro’s architectural metalwork begins as flat sheet.
Before the sheet can be formed, it must be cut into correctly sized blanks. Astro uses shearing equipment as part of its Grand Prairie operation, along with brake presses, welding and finishing capabilities.
The blank size must account for more than the visible dimensions of the finished component. The fabricator also considers the material consumed by bends, hems, returns and overlaps.
A piece cut too small cannot usually be stretched back into specification. A piece cut too large may be correctable, but correcting it adds labor and disrupts the production sequence.
Directional finishes introduce another consideration. With brushed stainless steel or another grain-oriented material, the blank must be laid out so the grain runs in the intended direction after forming. The correct profile formed with the grain turned sideways may still be visually unacceptable.
Brake Forming Creates the Profile
After cutting, the flat blank moves to the press brake.
The press brake applies controlled force to create the bends that form angles, channels, pans, copings, flashings, and other architectural profiles. A basic shape may require only one or two bends. A complex profile can involve several bends that must occur in the proper order.
Bend sequencing matters because one formed leg can block access for the next bend. Tight returns, deep channels, and multiple opposing bends may require careful planning and specialized tooling.
The brake operator considers:
- Material type and thickness
- Bend angle
- Inside radius
- Direction of the finish
- Tooling selection
- Bend sequence
- Springback
- Dimensional tolerance
- Surface protection
Different metals behave differently under pressure. Aluminum does not form the same way as stainless steel, and thicker material may require a different setup than lighter-gauge sheet.
For a repetitive order, the first completed piece becomes an important checkpoint. Dimensions and angles can be verified before the shop proceeds with the full quantity. Catching an issue on the first piece is far better than repeating it across an entire order.
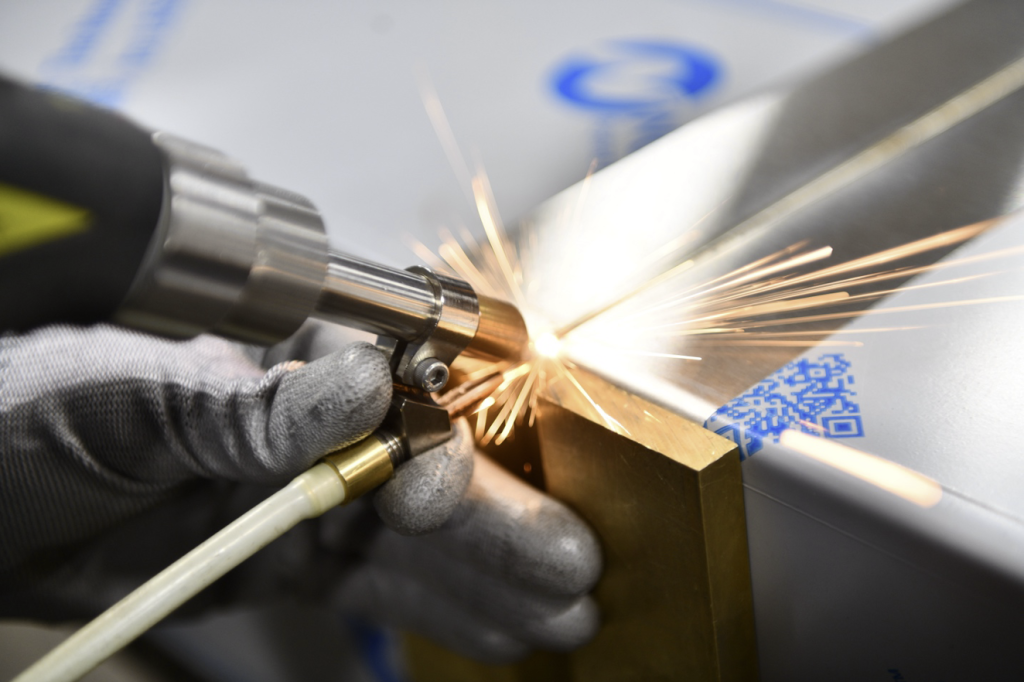
Welding and Assembly Create Larger Components
Not every architectural element can be made from one sheet on a press brake.
Column covers, panel corners, custom enclosures, and three-dimensional assemblies may require several formed pieces to be fitted and welded together. Brackets, stiffeners, frames or concealed attachment components may also become part of the assembly.
Welding architectural metal requires attention to both strength and appearance.
Excessive heat can distort broad, flat surfaces. A weld that is structurally sound may still require grinding, blending, or other finishing before it is appropriate for an exposed architectural application. The fabrication sequence must therefore account for how the material will respond as the assembly is built.
The shop may use temporary fixtures or controlled welding sequences to maintain alignment and reduce distortion. Completed assemblies are then checked against the required dimensions before advancing to finishing.
Finishing Is Part of the Fabrication Process
The finish is not simply decoration applied after the “real” work is complete.
It is part of the architectural requirement.
Some metal arrives with a factory-applied finish that must be protected throughout fabrication. Other pieces may be polished, blended, painted, powder-coated or otherwise finished after forming and welding.
Finished surfaces can be damaged by careless handling, unsuitable tooling or metal chips trapped between the workpiece and a machine surface. Protective film may remain on the material during portions of fabrication, but the shop must still monitor the surface at every stage.
Finish consistency is especially important when several panels will be installed next to one another. Grain direction, gloss, color and surface texture need to work together across the completed elevation.
Large architectural surfaces magnify small inconsistencies. A panel that looks acceptable by itself may appear noticeably different when installed beside several matching pieces under strong lighting.
Quality Control Happens Throughout the Order
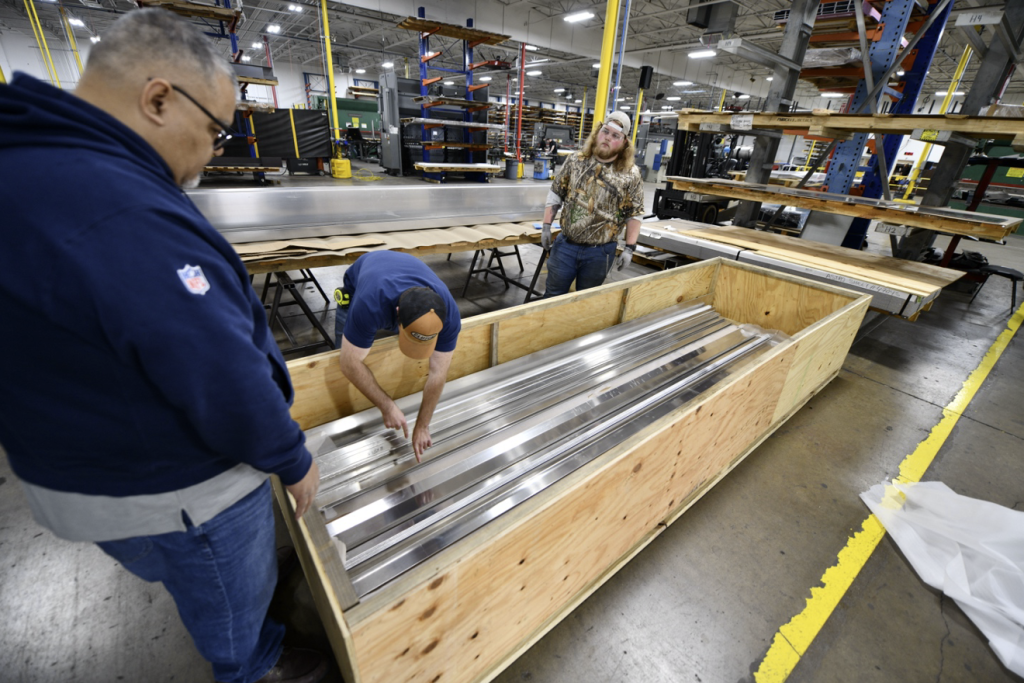
Quality control should not be limited to a final inspection after every piece has been fabricated.
It begins with reviewing the incoming information and continues through material verification, cutting, forming, welding, finishing and packaging.
Depending on the order, Astro may verify:
- Material and gauge
- Overall dimensions
- Leg lengths
- Bend angles
- Profile orientation
- Exposed-face direction
- Quantity
- Finish condition
- Joint alignment
- Assembly dimensions
- Labeling
Unusual profiles deserve particular attention. A second review can catch a reversed dimension, incorrect exposed face or other issue before the mistake is multiplied.
Astro’s process is built around asking questions and flagging conditions that appear unusual rather than discovering the problem during installation. When an issue does occur, quick communication and a focus on limiting downstream disruption are essential.
No fabrication shop is perfect, but a disciplined process makes errors less likely and easier to address.
Labeling Connects the Shop to the Jobsite
Once an order contains more than a few similar components, identification becomes important.
A large architectural package may include pieces for different floors, elevations, rooms or installation phases. Many of those pieces may look nearly identical while differing by only an inch, one bend or the location of an attachment.
Clear labeling helps the installer understand where each piece belongs.
Labels may identify:
- Project name
- Building or area
- Floor
- Elevation
- Piece number
- Drawing reference
- Installation sequence
- Quantity within the bundle
Good labeling reduces time spent sorting material in the field and lowers the risk that a nearly correct component will be installed in the wrong location.
Packaging Protects the Work
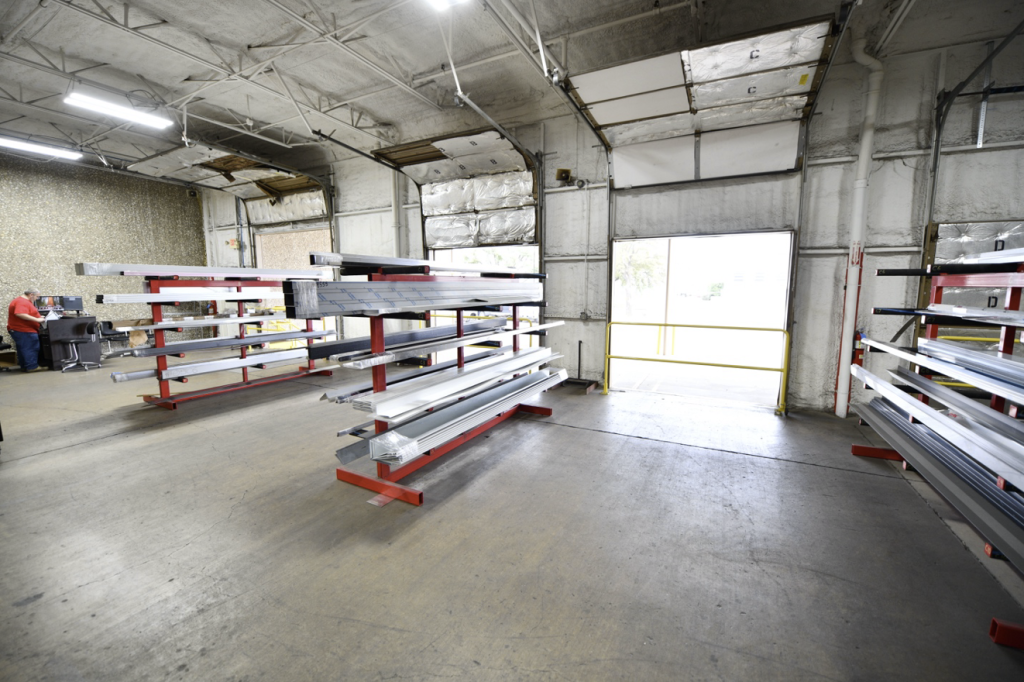
Finished architectural metal is not a commodity that can always be stacked loosely onto a truck.
Panels and brake shapes may scratch, bend, or rub against one another during transportation. Larger components may need blocking, wrapping or custom palletization to keep them stable.
Packaging should protect the finish while also supporting the installation sequence. Pieces needed first should not be buried beneath material intended for a later phase.
Astro coordinates bundling, labeling and palletizing so material can move from the shop to the jobsite in an organized way. Delivery timing also matters because finished metal that arrives before the site is ready may be stored improperly, moved repeatedly, or damaged by other trades.
The fabrication process is not complete when the metal leaves the machine. It is complete when the customer receives usable material in the condition expected.
Fabrication Time Depends on the Scope
Not every order moves through the shop at the same speed.
A basic brake metal order using standard material and uncomplicated profiles may be completed within a few days when shop capacity permits. A large custom panel package involving multiple profiles, welding, specialty finishes, and tight tolerances can require several weeks.
The primary variables include:
- Complexity
- Quantity
- Material availability
- Finish requirements
- Drawing status
- Current shop capacity
- Required quality-control steps
- Packaging and delivery requirements
In a busy construction market, engaging the fabricator early gives the shop an opportunity to plan capacity and identify long-lead material. A last-minute order provides fewer options, particularly when the work requires more than standard forming.
Fabrication-Only Versus Turnkey Work
Astro’s shop supports both fabrication-only and turnkey architectural metal projects.
For fabrication-only work, the customer may provide approved drawings, dimensions or profile sketches. Astro fabricates the components, and the customer manages field coordination and installation. Completed material can be picked up in Grand Prairie or delivered to the customer’s facility or jobsite.
For turnkey work, Astro can manage a broader sequence that includes:
- Site visits
- Field measurement
- Submittal and shop drawings
- Material procurement
- Fabrication
- Delivery
- Installation
The best arrangement depends on the project and the customer’s team. Straightforward brake metal may not require turnkey coordination. Complex panels, ceilings, column covers and multi-material assemblies may benefit from having one contractor responsible from measurement through installation.
What Leaves the Shop Reflects Everything That Came Before It
By the time a finished component is loaded for delivery, dozens of decisions have already been made.
The drawings were interpreted. Questions were answered. Material was selected. Blanks were cut. Profiles were formed. Assemblies were welded. Finishes were protected or applied. Dimensions were checked, pieces were labeled, and the order was packaged.
The completed metal reflects the quality of that entire process.
Astro Sheet Metal has spent nearly six decades refining its ability to turn project information into finished architectural metal. Its equipment and capabilities have evolved, but the company continues to operate around the same core values: Quality, Proficiency and outstanding Customer Service.
Whether an order contains a few brake shapes or a complete custom architectural package, the objective remains straightforward: understand what the customer needs, build it accurately and deliver it ready for the next step.
For assistance with fabrication-only or turnkey architectural metalwork in the Dallas-Fort Worth or Austin market, contact Astro Sheet Metal at 972-438-1110 or visit astrosheetmetal.com/contact.